

 Bahasa Indonesia
 Deutsch
 Español
 Français
 Português (Brasil)
 Türkçe
 ไทย
 中文(简体)
 中文(繁體)
 日本語
 한국어
World Editor
Background
Section titled “Background”Once your robot can handle the included maps and simple mazes, you may want something more challenging, or to test specific scenarios that the included maps do not cover.
For this, there is the online Erebus World Editor. You draw a map in your browser, and it exports a .wbt world file that you can run in Erebus.
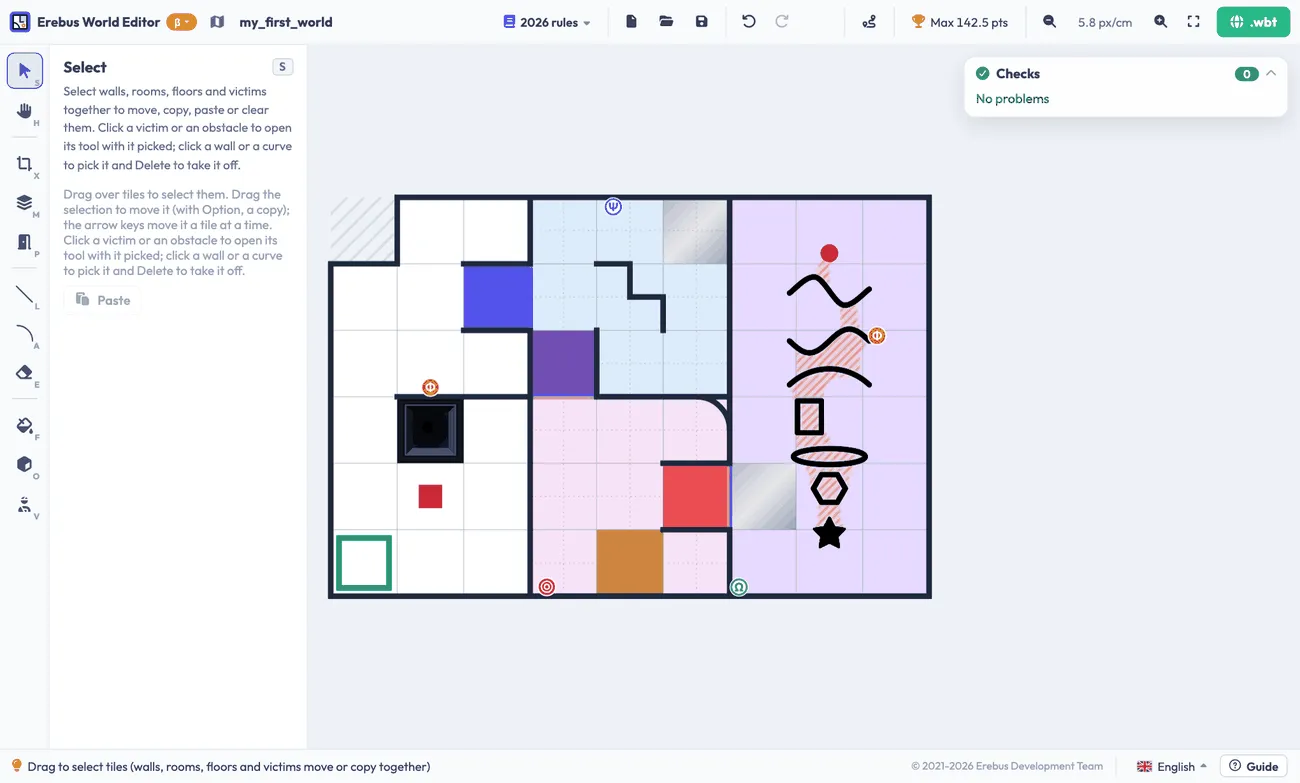
If you are only building small maps for testing, whether the field follows the rules probably does not matter much. But if you plan to build a competition field, read the official Simulation Rules. The editor checks your map against the rules while you work.
The editor has a built-in guide: press Guide at the bottom right for a hands-on lesson that makes a sample map (about 15 minutes), a tour of the screen, or a lesson on Room 4. The language of the editor can be changed next to it.
Starting a map
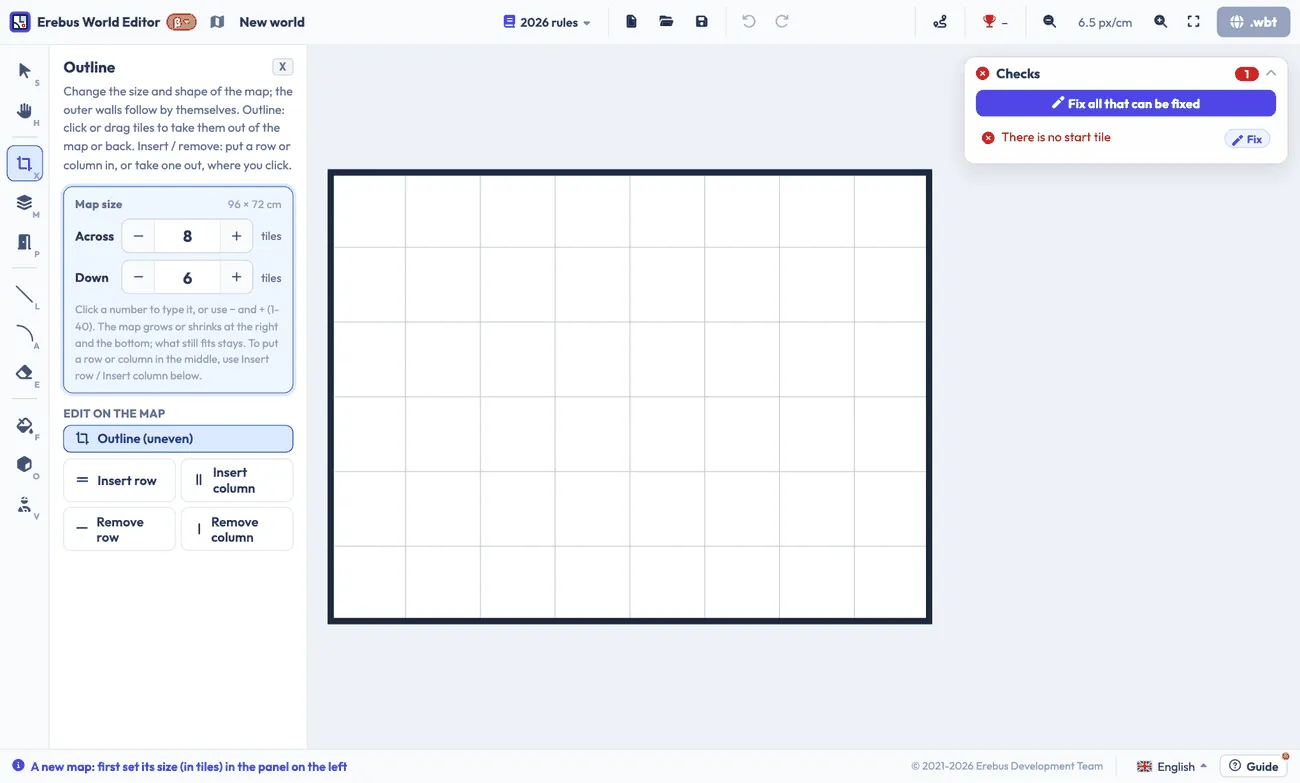
Section titled “Starting a map”When you open the editor, choose which year’s rules you want to follow, and press New map. Choose the 2026 rules for Erebus v26. The 2027 rules are a draft for the next version of Erebus.
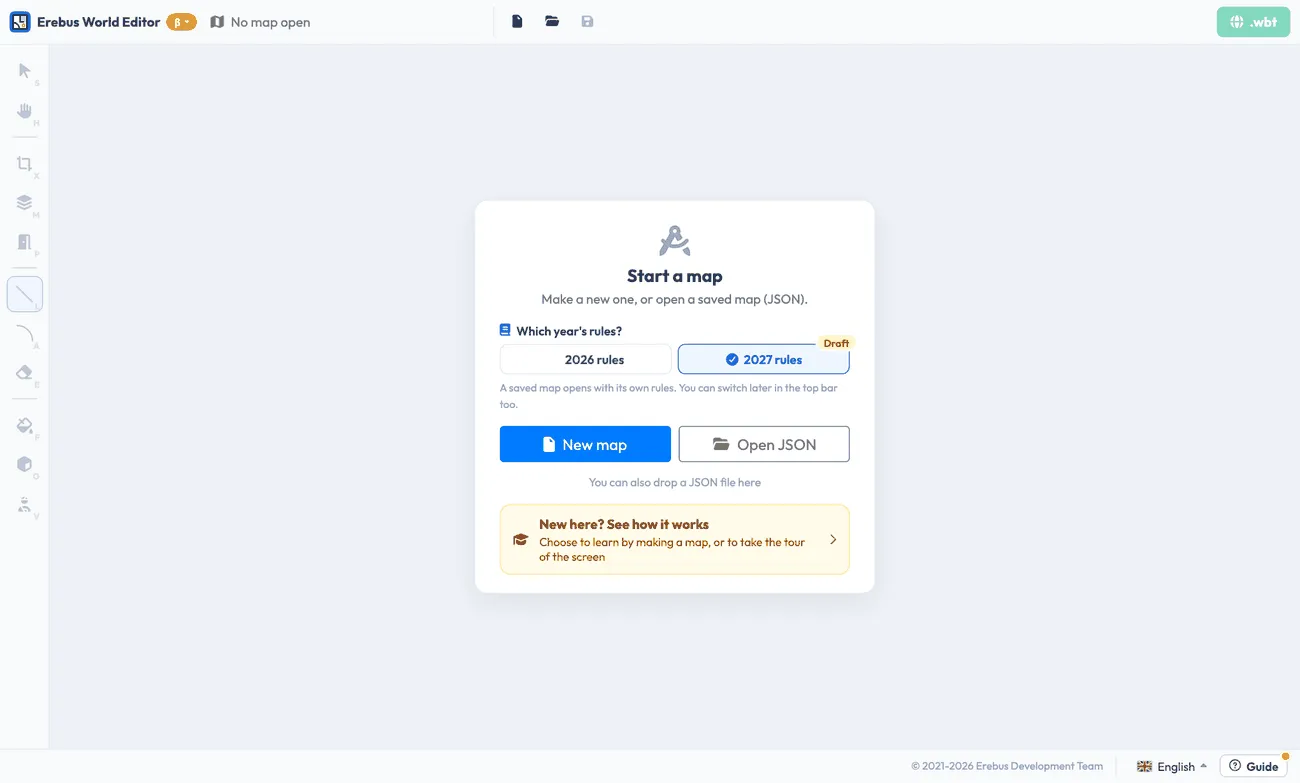
Your work is kept in the browser, but it is lost in another browser or when the browsing data is cleared. Keep maps that matter by saving them as JSON with the save button in the top bar, and reopen them with the open button.
A good order to work in is size and outline, rooms, passages, walls, floors, obstacles and victims, Room 4, and finally the checks and the export. The tools are on the left, each with a keyboard shortcut. The settings of the selected tool appear in the panel beside them.
| Tool | Key | Use |
|---|---|---|
| Select | S |
Select, move, copy and paste parts of the map |
| Move | H |
Move the view |
| Outline | X |
Set the size and shape of the map |
| Rooms | M |
Paint Rooms 1 to 4 (the areas of the rules) |
| Passages | P |
Join rooms with a passage |
| Line | L |
Draw walls |
| Curve | A |
Draw curved walls in Room 3 |
| Eraser | E |
Remove walls, floors, obstacles and victims |
| Floor | F |
Set checkpoints, holes, swamps and the start tile |
| Obstacle | O |
Place obstacles |
| Victims | V |
Place letter victims, cognitive targets and fakes |
The mouse wheel zooms, a drag with Space held moves the view, and undo is ⌘Z or Ctrl+Z.
Size and outline
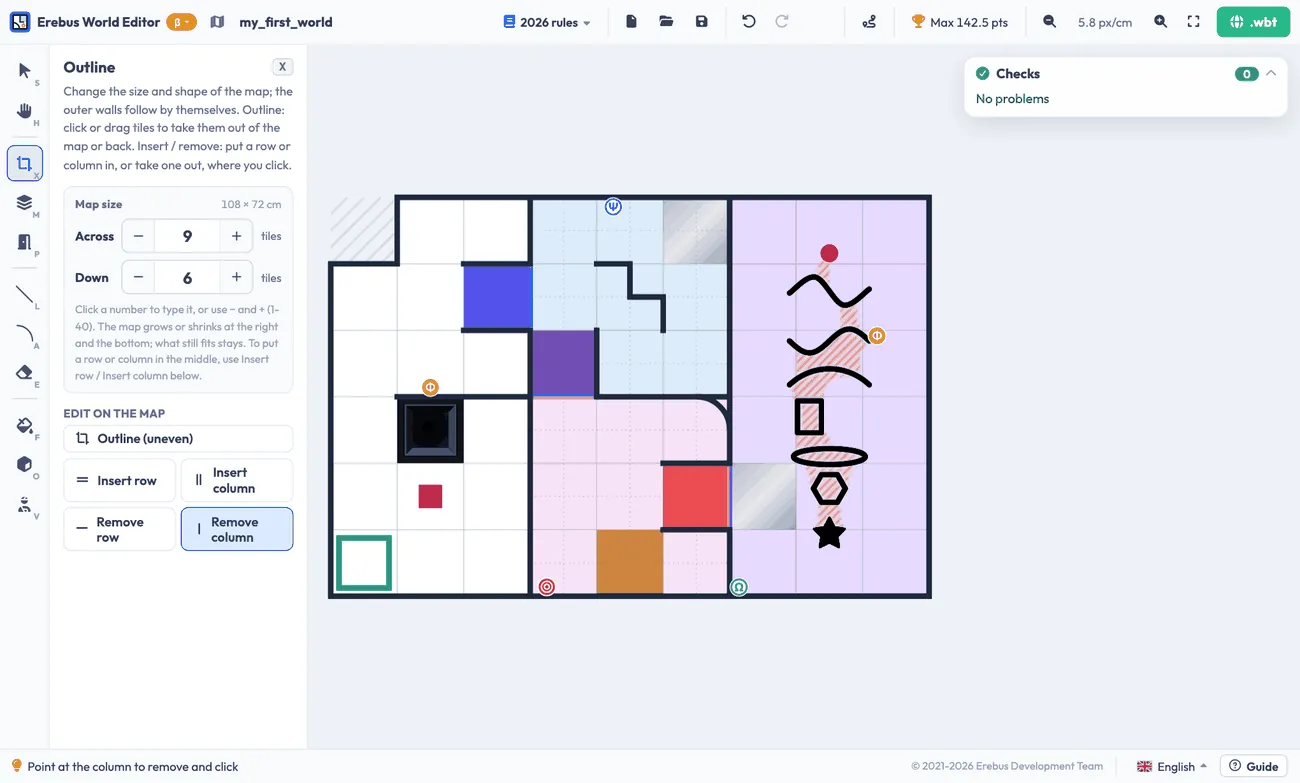
Section titled “Size and outline”With the Outline tool, set the size of the map in tiles. The outer walls are added automatically. Outline (uneven) lets you click tiles to take them out of the map, and you can also insert and remove rows and columns where you click.
Rooms and passages
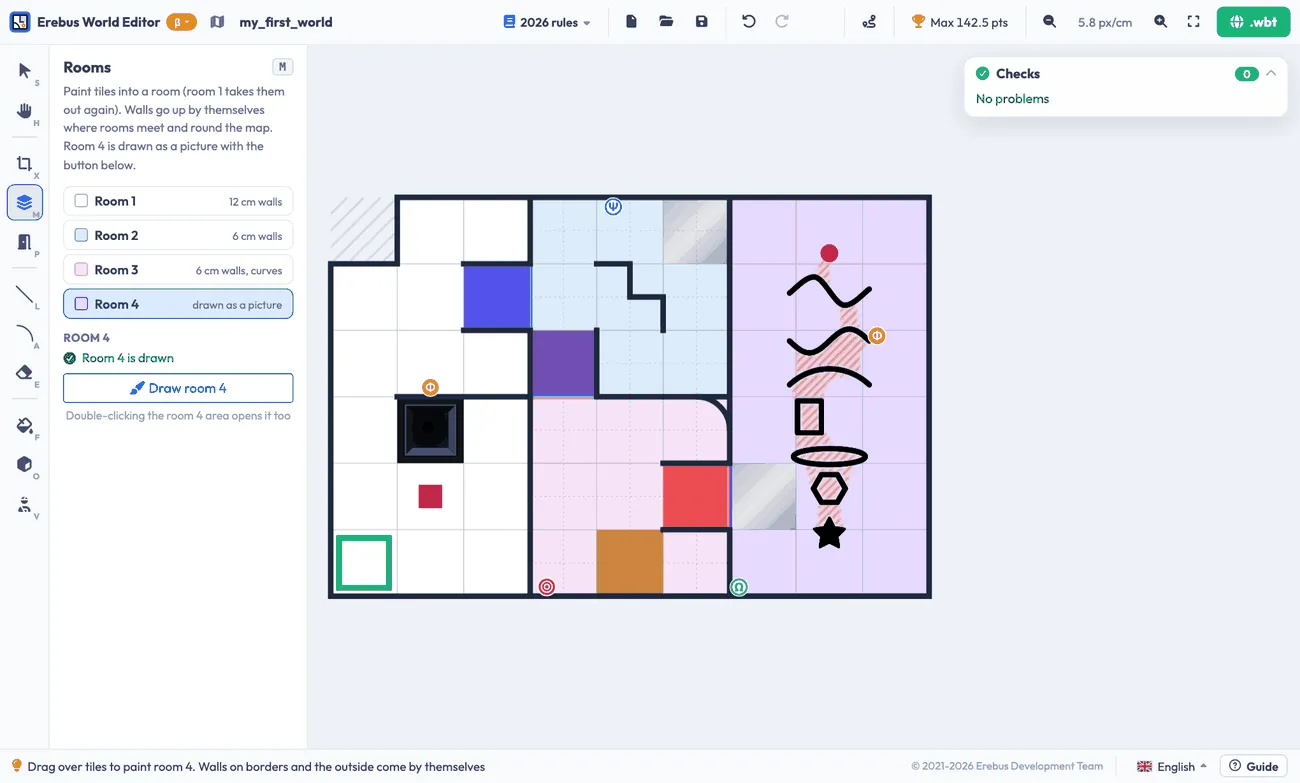
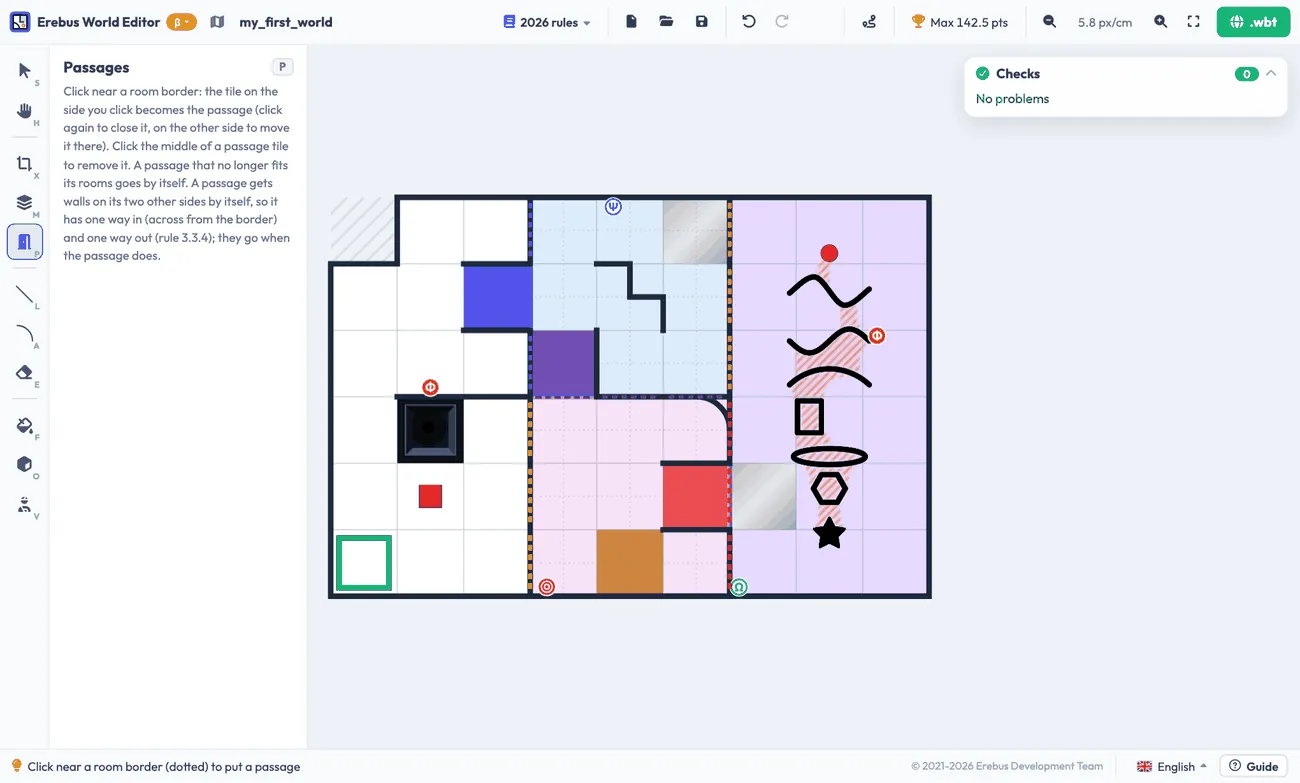
Section titled “Rooms and passages”With the Rooms tool, paint the tiles of each room. Walls are added automatically on the borders between rooms. Then, with the Passages tool, join the rooms: the colour of each passage is chosen according to the rooms it connects.
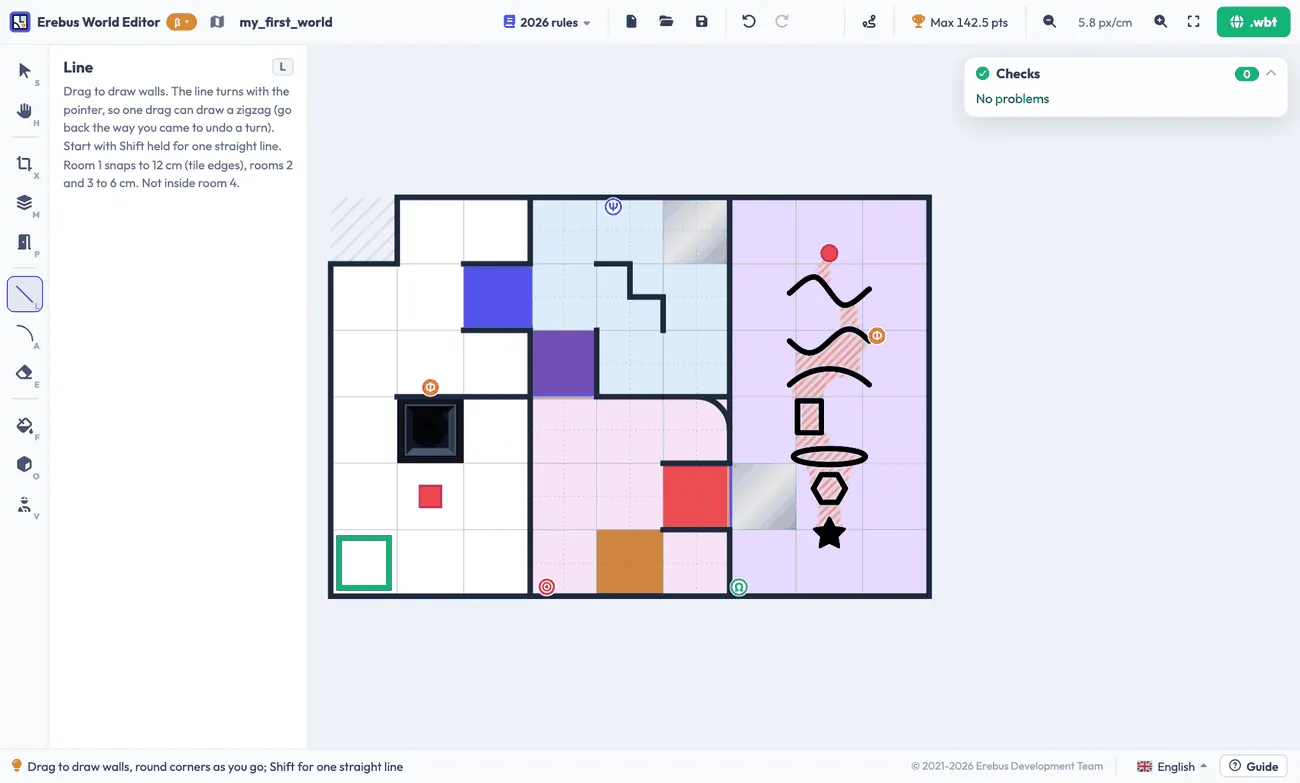
Use the Line tool to draw walls: on the tile edges in Room 1, and on quarter tiles in Rooms 2 and 3. Use the Curve tool in Room 3, pointing at a quarter of a tile to choose the curve. Clicking the same one again removes it.
Floors and obstacles
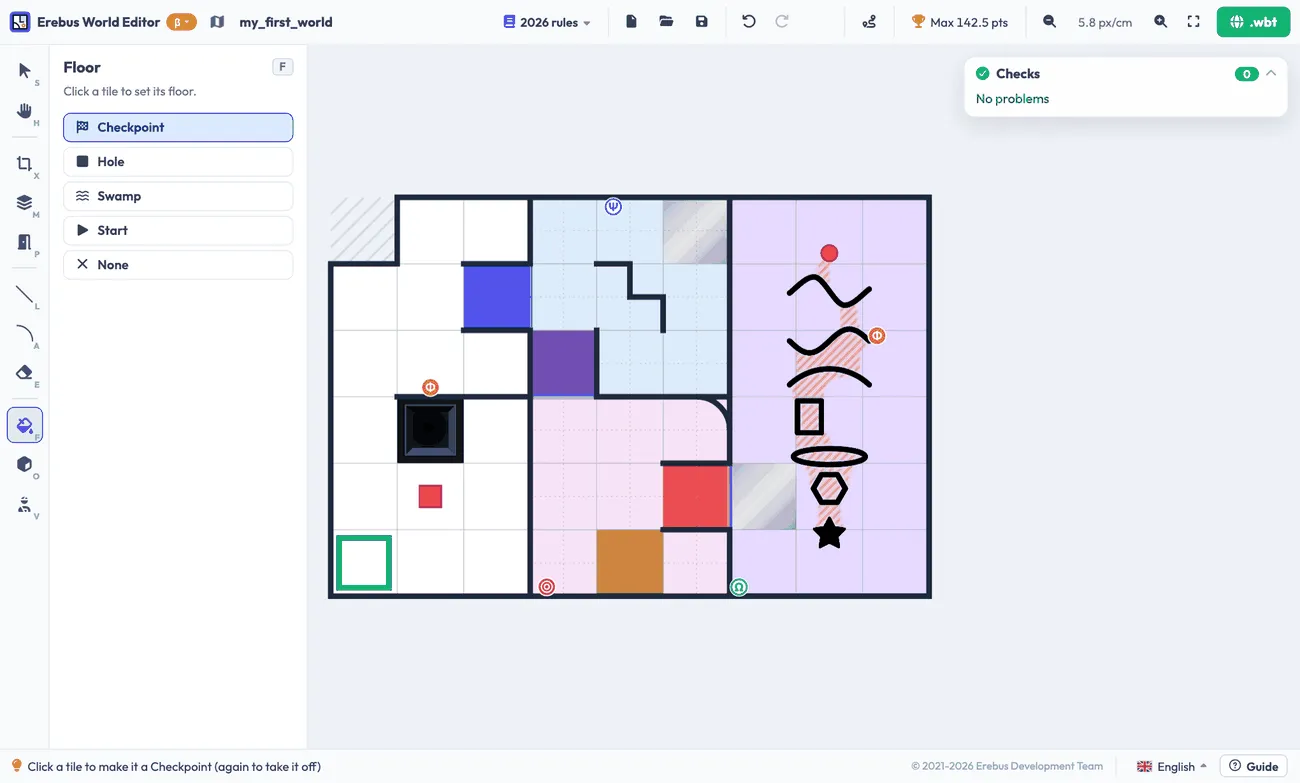
Section titled “Floors and obstacles”With the Floor tool, pick a floor type and click a tile to set it. The start tile must be a Room 1 tile, and the world cannot be exported without it. A tile can only be one of hole, swamp, checkpoint, obstacle, start or passage.
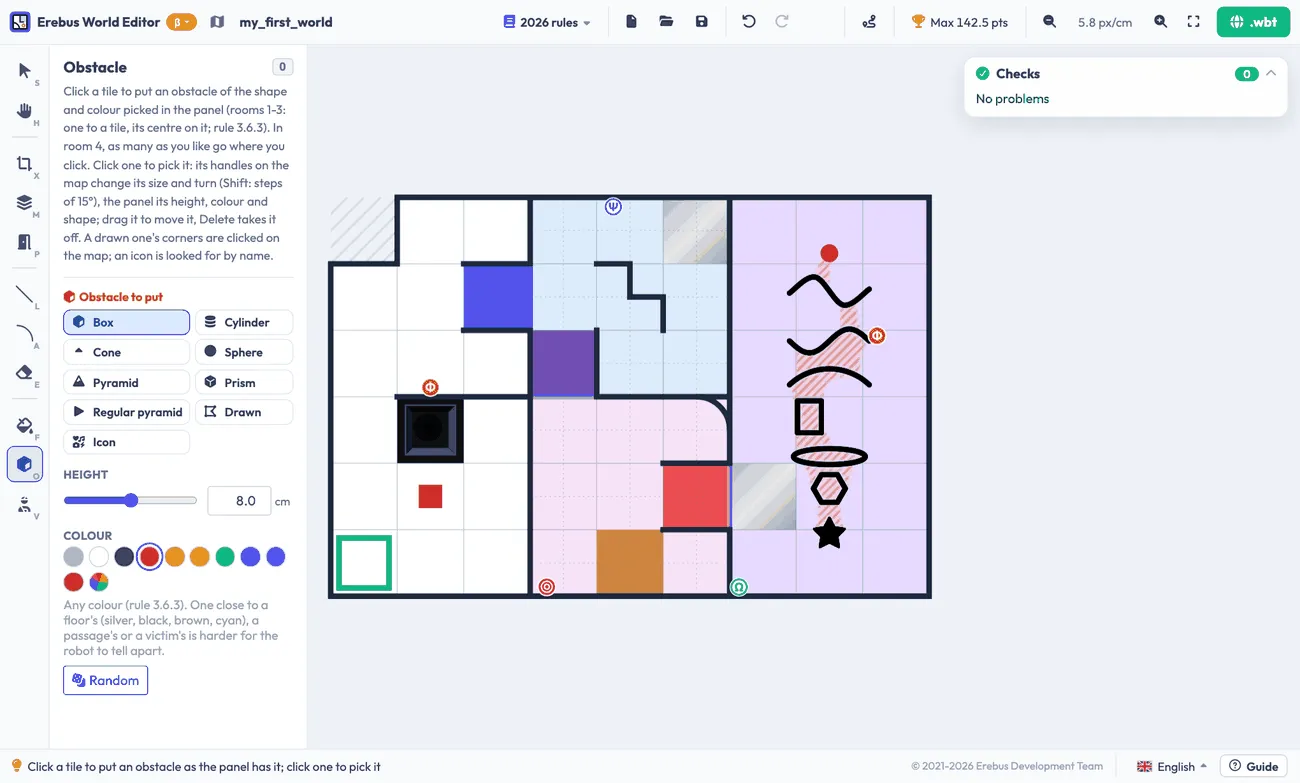
With the Obstacle tool, pick a shape and click a tile. In Rooms 1 to 3 there is one obstacle per tile, with its centre on the tile. Click an obstacle to change its size, height, colour and rotation with its handles and the panel.
Victims and cognitive targets
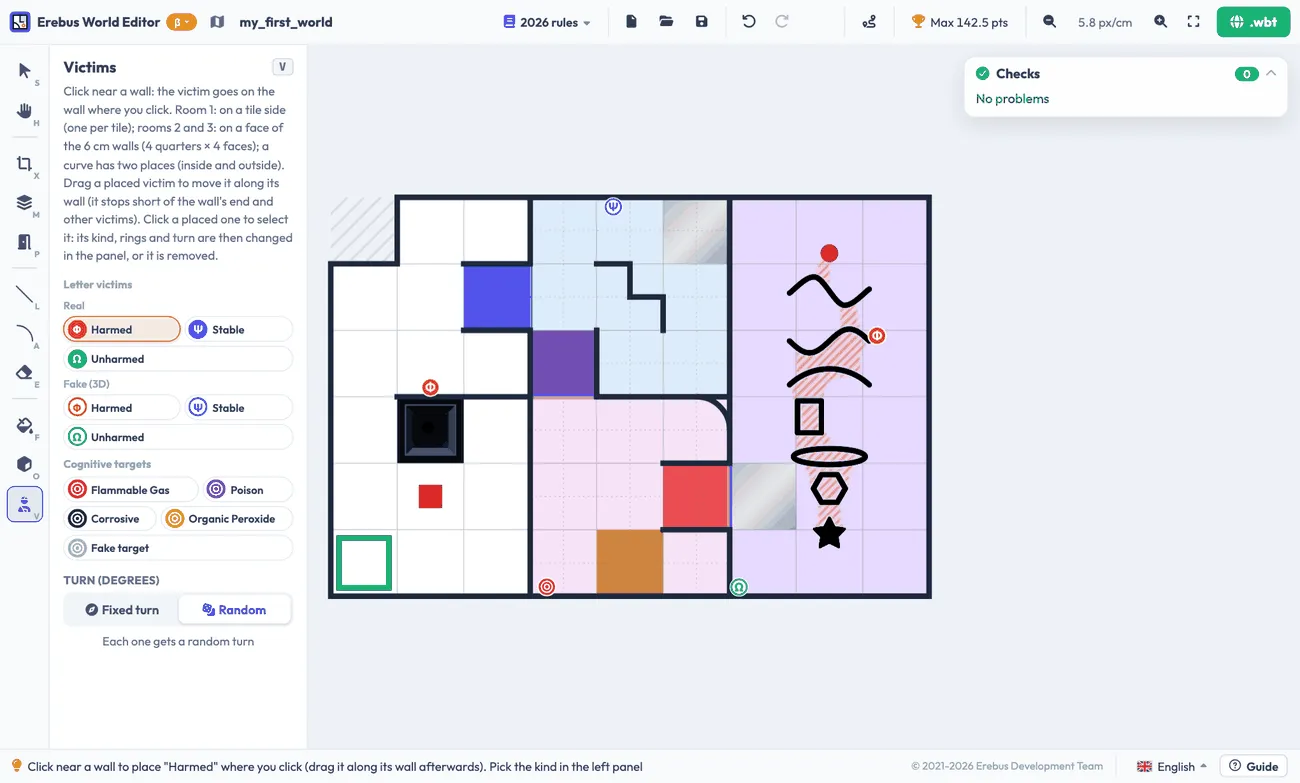
Section titled “Victims and cognitive targets”With the Victims tool, pick a kind and click near a wall. You can place:
- Real letter victims: harmed, stable and unharmed
- Fake letter victims with three-dimensional symbols
- Cognitive targets: pick the hazmat, and choose the colours of the rings if you want. The sum is shown, and it decides the type
- Fake targets, whose rings add up to something other than 0 to 3
In Room 1 there can be one victim on each tile side. In Rooms 2 and 3, they go on the faces of the 6 cm walls, and curves have two places, inside and outside. Under Turn, choose a fixed rotation, or a random one for each new token. Click a placed token to change or remove it, or drag it along its wall.
Room 4
Section titled “Room 4”Room 4 is not based on tiles, so it is drawn as a picture. With the Rooms tool, paint Room 4, and press Draw room 4 (or double-click the room) to open the room 4 creator.
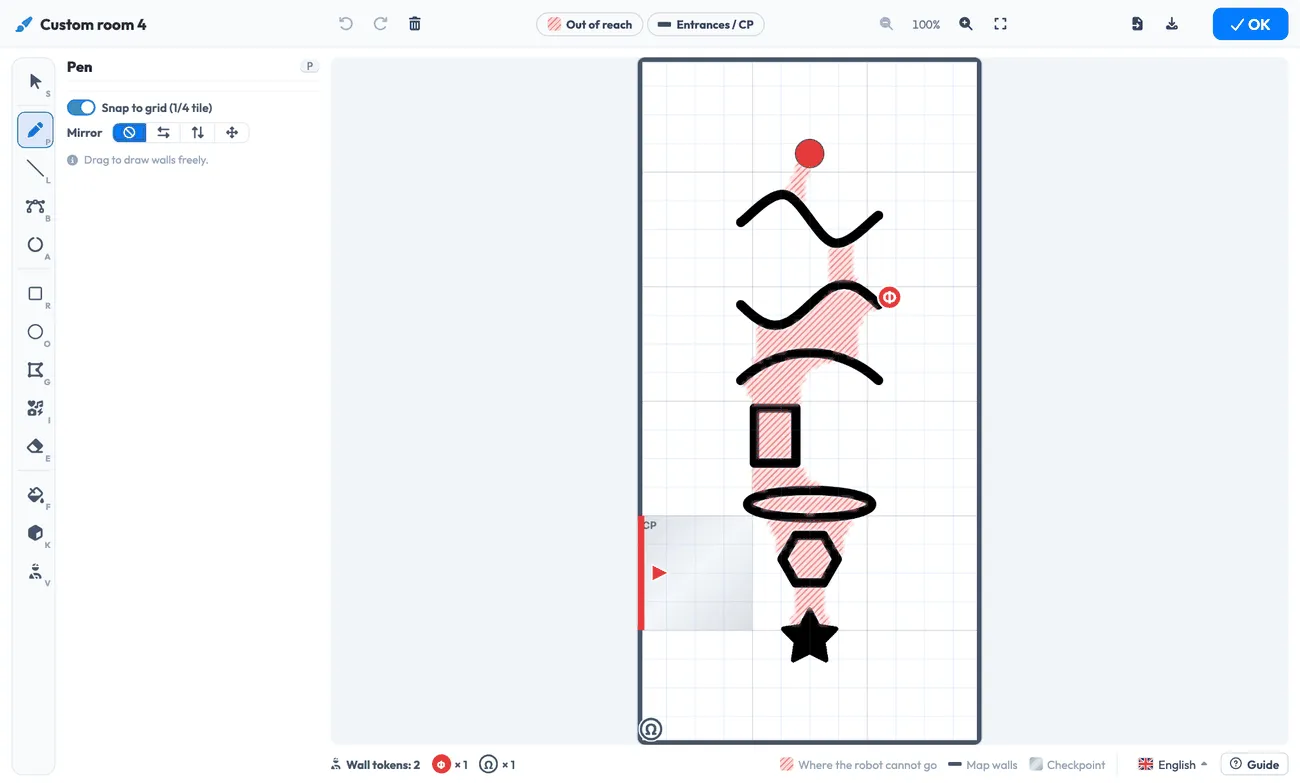
What you draw in black becomes walls. The creator has tools to draw freehand and to draw lines, curves, arcs, rectangles, ellipses, polygons and shapes from icons, and tools for victims and obstacles. As many obstacles as you like can be placed in Room 4. Red stripes show where the robot cannot go, and you must leave a path about one tile wide for the robot to get through.
When it is done, press OK: the picture appears as Room 4 on the map and goes into the exported world. The buttons at the top right of the creator save the picture as a PNG, so you can use the same Room 4 in another map, and open PNG or JPEG pictures.
Checking your map
Section titled “Checking your map”Every change is checked against the rules, in the Checks card at the top right. A red ✕ is a problem that stops the world from being exported, and a yellow ! is a warning worth a look. Click an item to go to it. Fix fixes one item, and Fix all that can be fixed fixes them all.
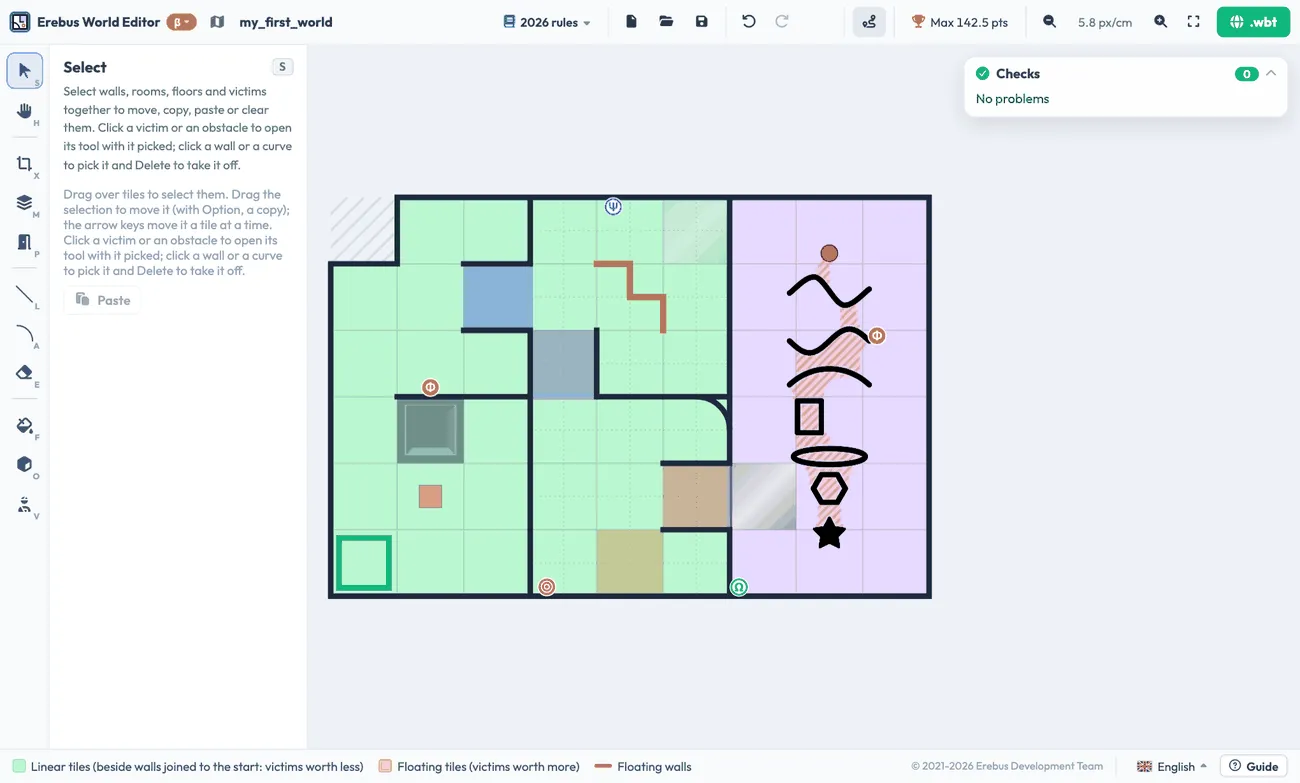
The Linear button in the top bar colours each tile as linear or floating, which sets what the tokens are worth.
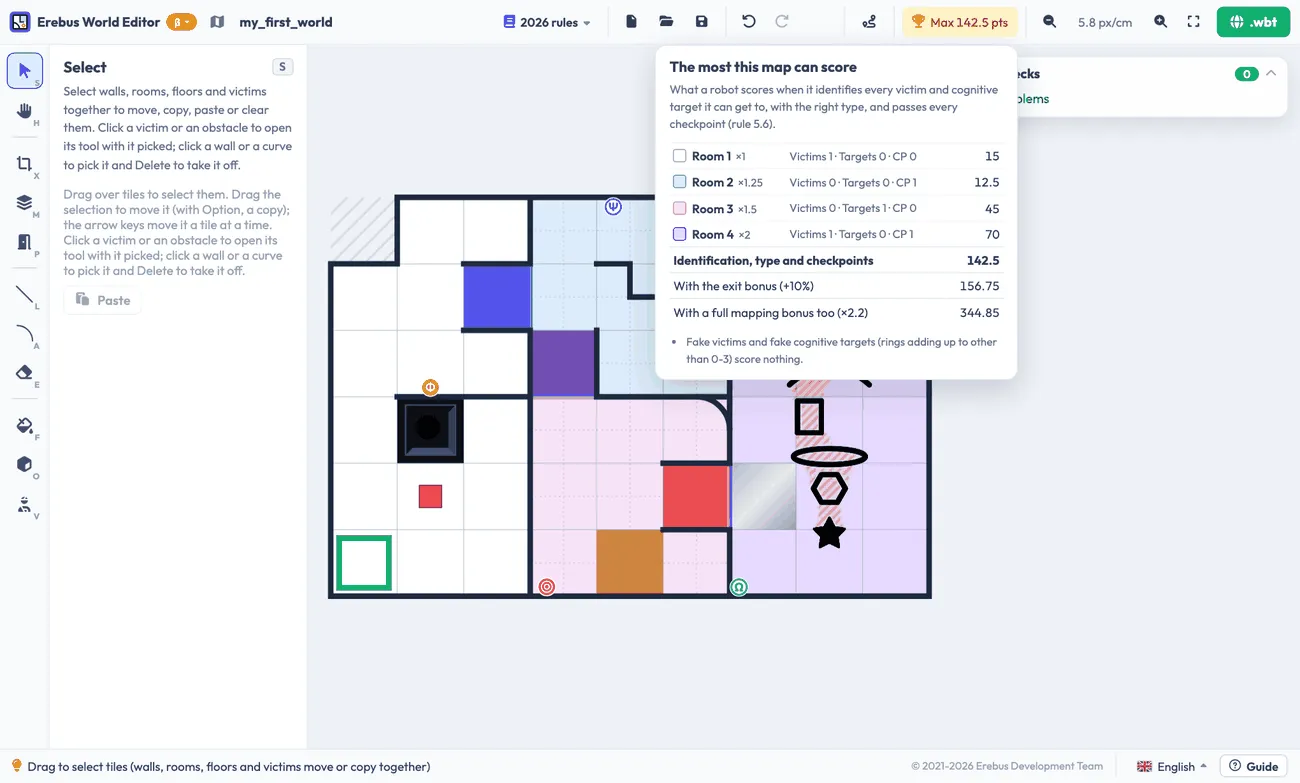
The trophy in the top bar shows the maximum score of the map, calculated with the scoring rules, with each room’s share and the score with the exit and mapping bonuses.
Exporting and running your world
Section titled “Exporting and running your world”Set the name of the map in the top bar, and press the .wbt button at the top right. Then:
- Copy the
.wbtfile into thegame/worldsfolder of Erebus. It must be in that folder, since the world uses files from Erebus. - Open it in Webots, or choose it with the Worlds button of the control window.
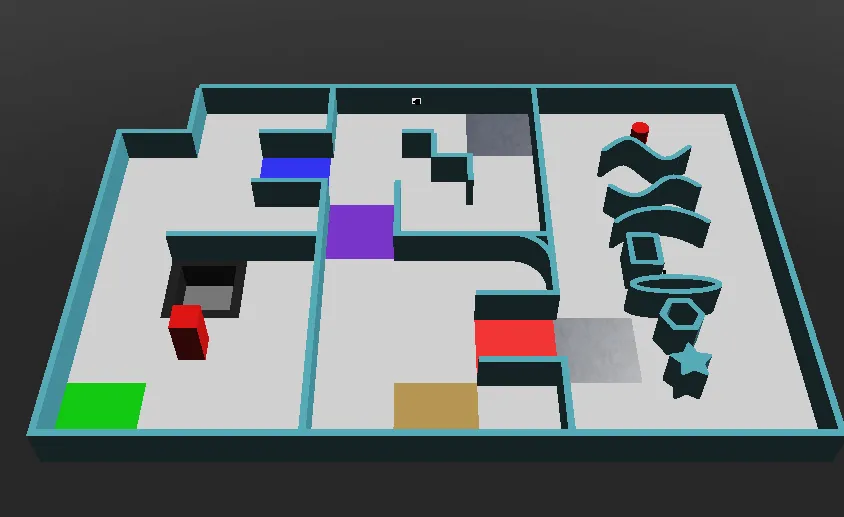
The sample map of the editor’s guide, running in Erebus v26.1.
A .wbt file does not turn back into a map you can edit, so keep the JSON too.

Erebus is part of RoboCupJunior Rescue.
News, events and team documents: RCJ Rescue Community Website
© 2020–2026 Erebus Development Team